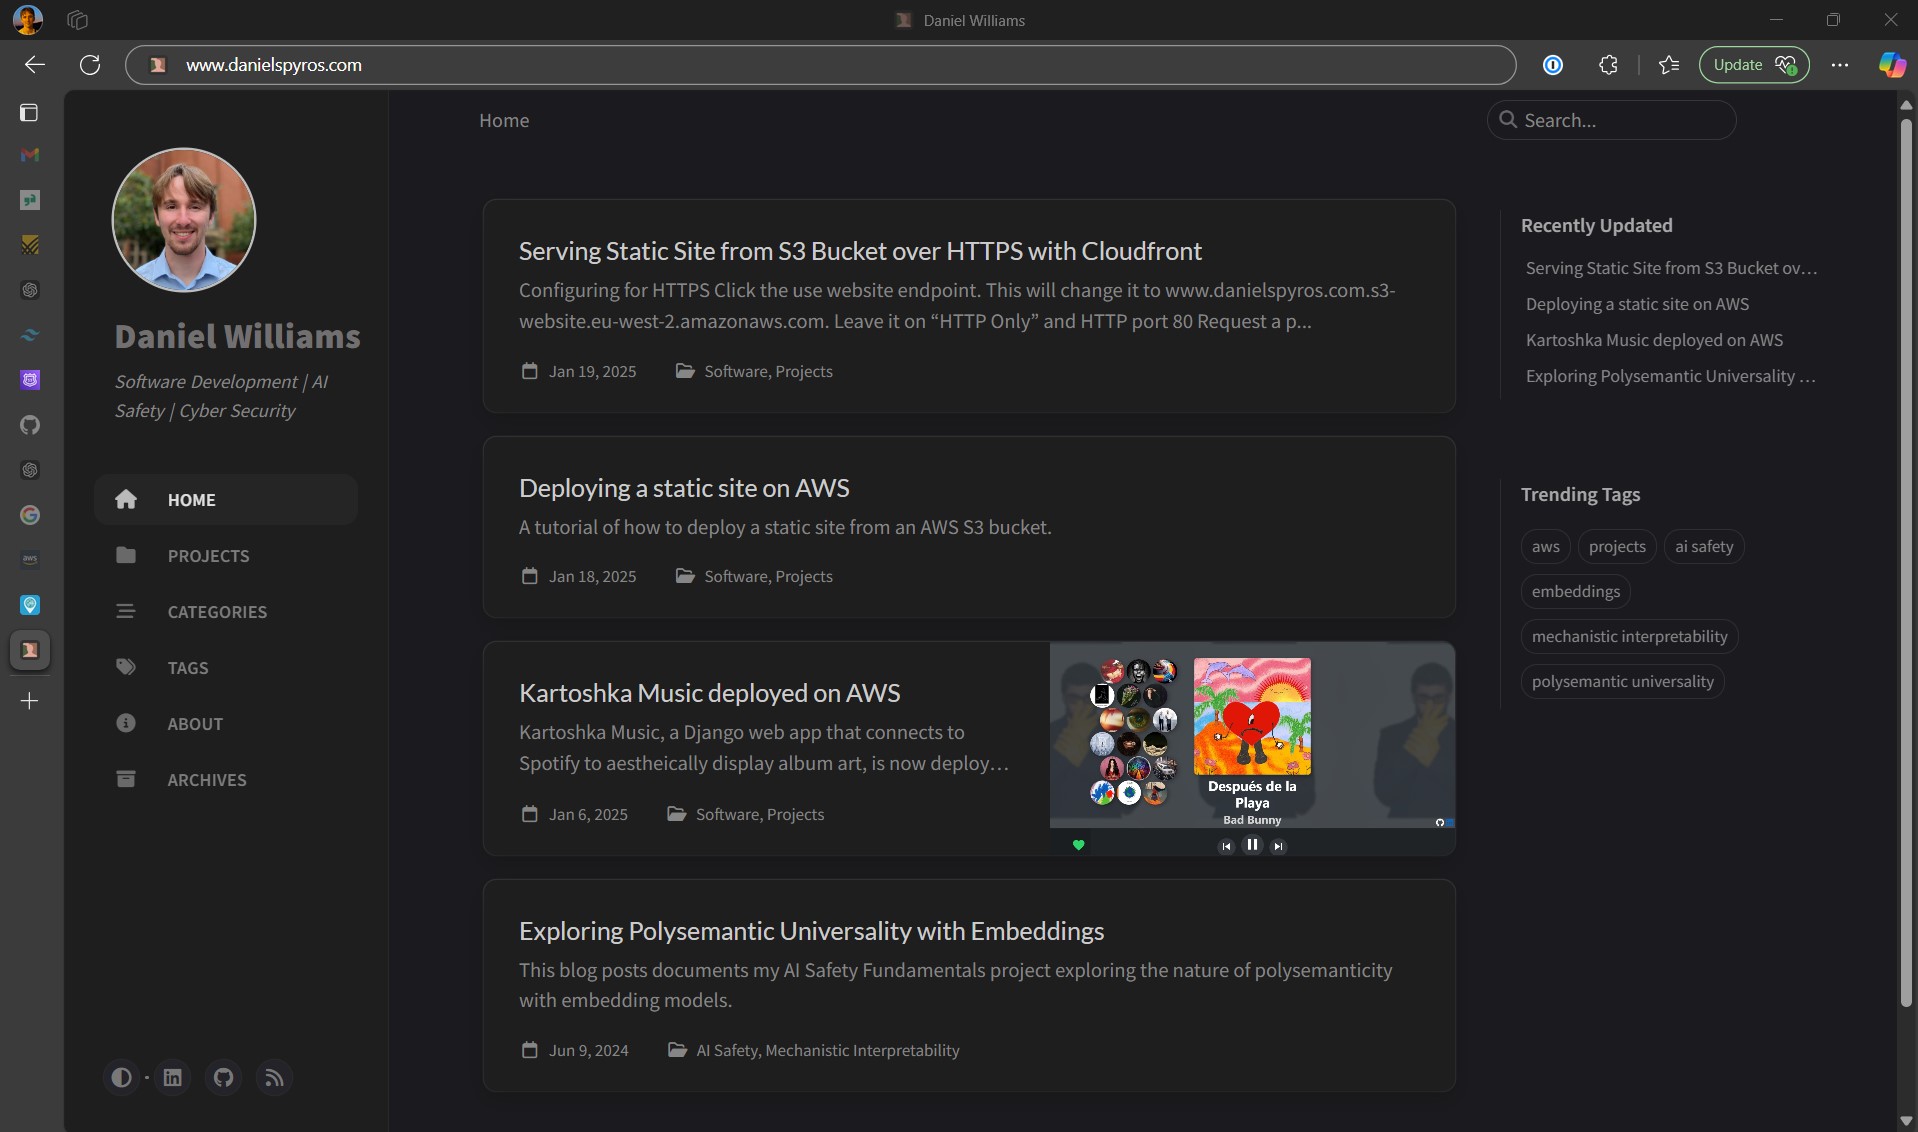
Deploying a static site on AWS
A tutorial of how to deploy a static site from an AWS S3 bucket.
Overview
In this tutorial I will show you how to deploy a static site on AWS via an S3 bucket. This is the process I followed to deploy this very blog.
Related Tutorials
- Creating a static website using Jekyll (coming soon).
- Deploying a static site on AWS (this tutorial).
- Serving Static Site from S3 Bucket over HTTPS with Cloudfront.
- Automating the deployment of a static site using Github Actions (coming soon).
Prerequisites.
- AWS Account.
- Domain in Route53 *This is optional. Only needed if you want to serve the site from a custom domain.
- A static site.
Tutorial
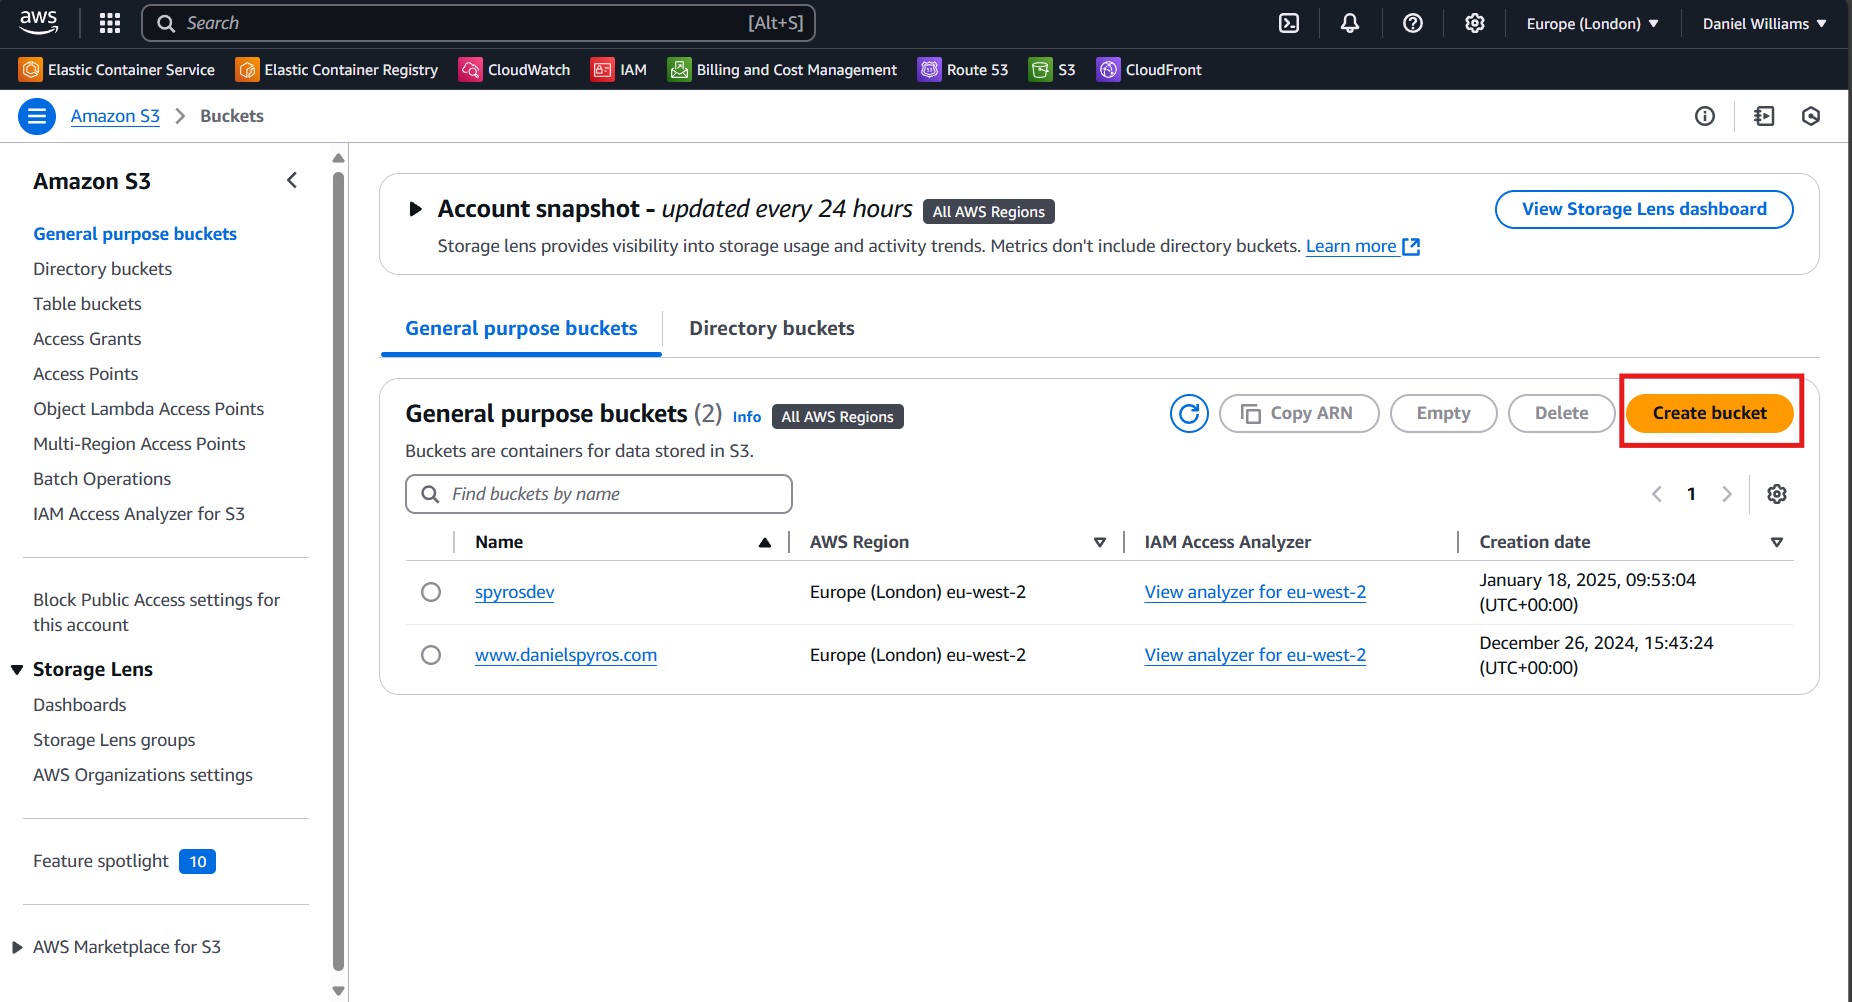
1. Creating the S3 Bucket.
Go to S3 in the AWS Console and create a new bucket.
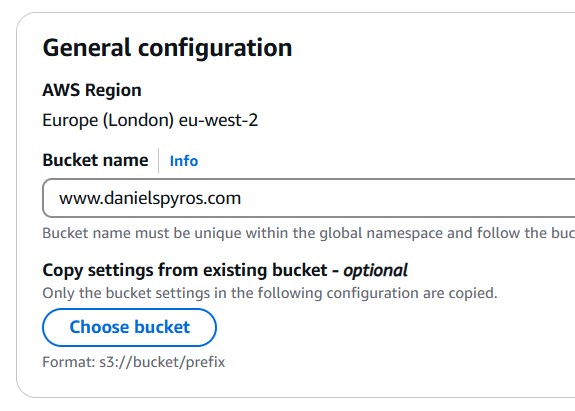
Give the S3 bucket a name. You should name the bucket as the URL from which you would like to serve the site. I believe this is mandatory to serve the site from an S3 bucket, but it is not mandatory if you connect it to a cloudfront distribution as I will show you in the next tutorial.
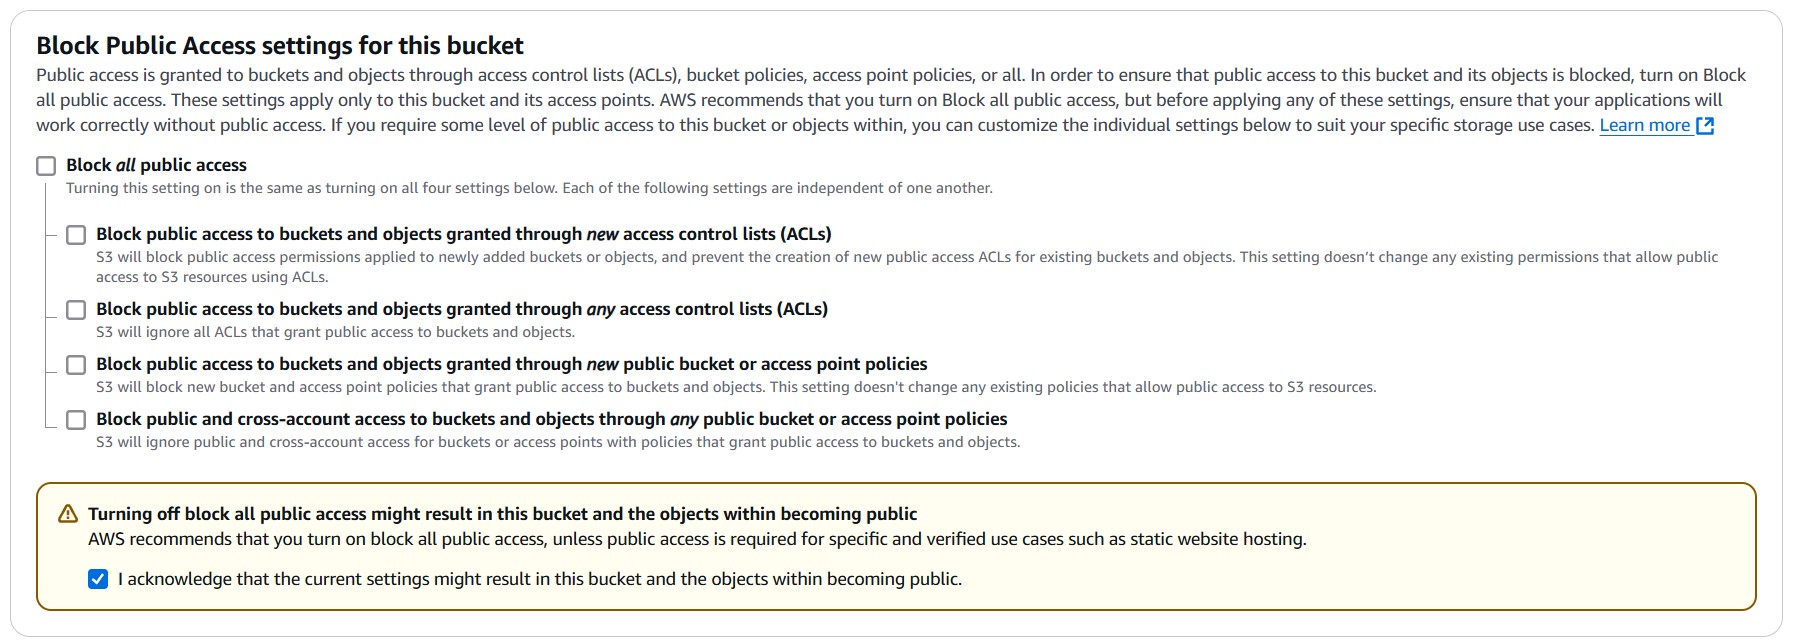
Uncheck “Block all public access” and check the acknowledgement.
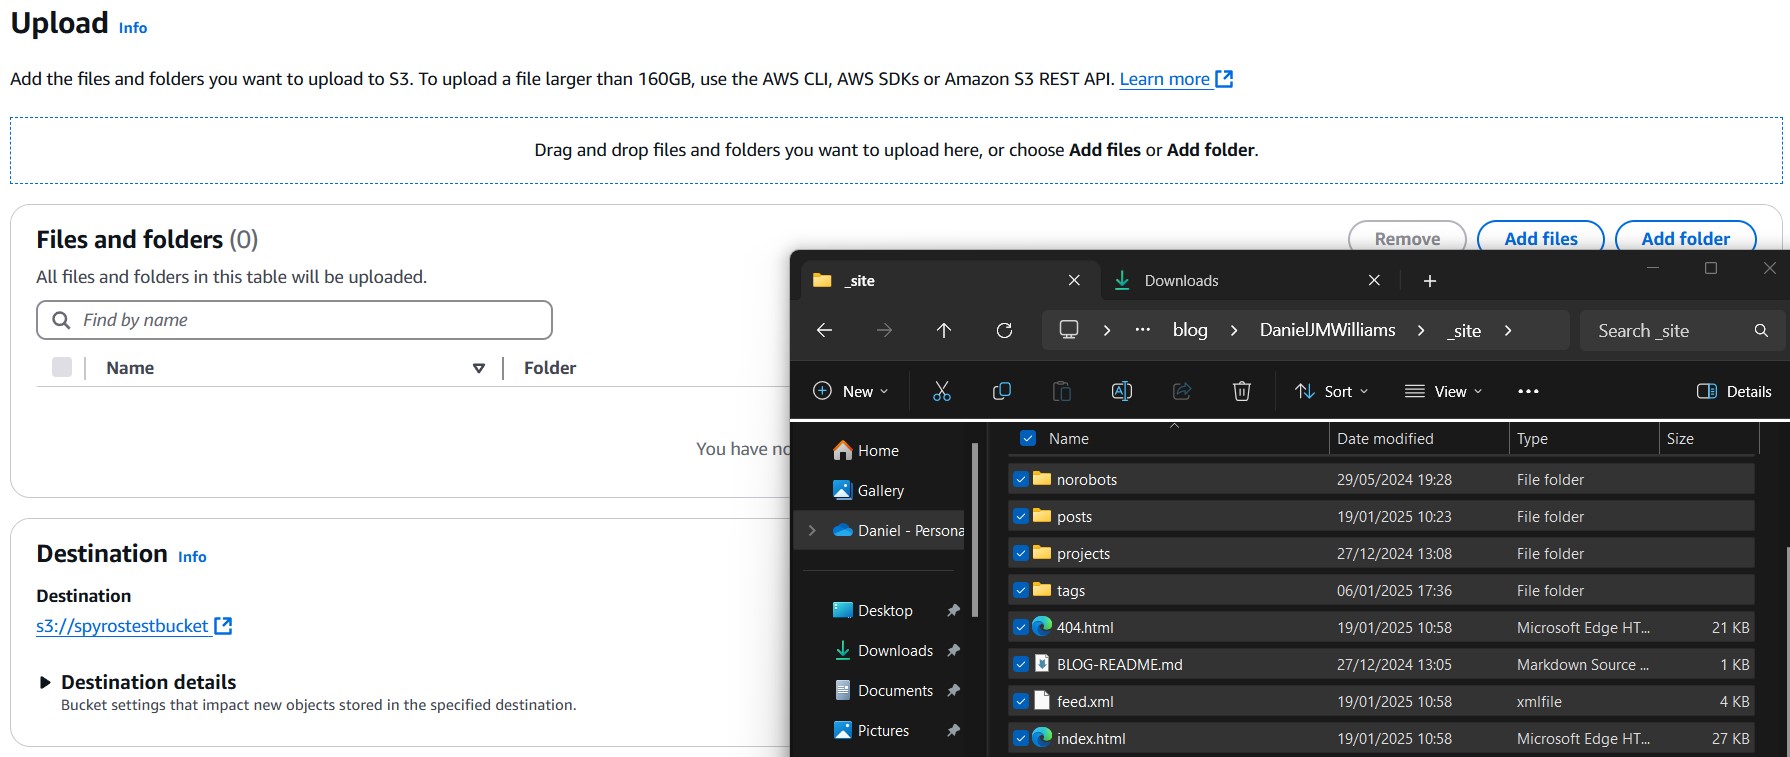
2. Uploading the site to the S3 Bucket.
Upload your site’s HTML and assets to the S3 bucket. In my case, I am using Jekyll so I need to make sure Jekyll has compiled the project by running jekyll serve and then uploading the contents of the _site directory.
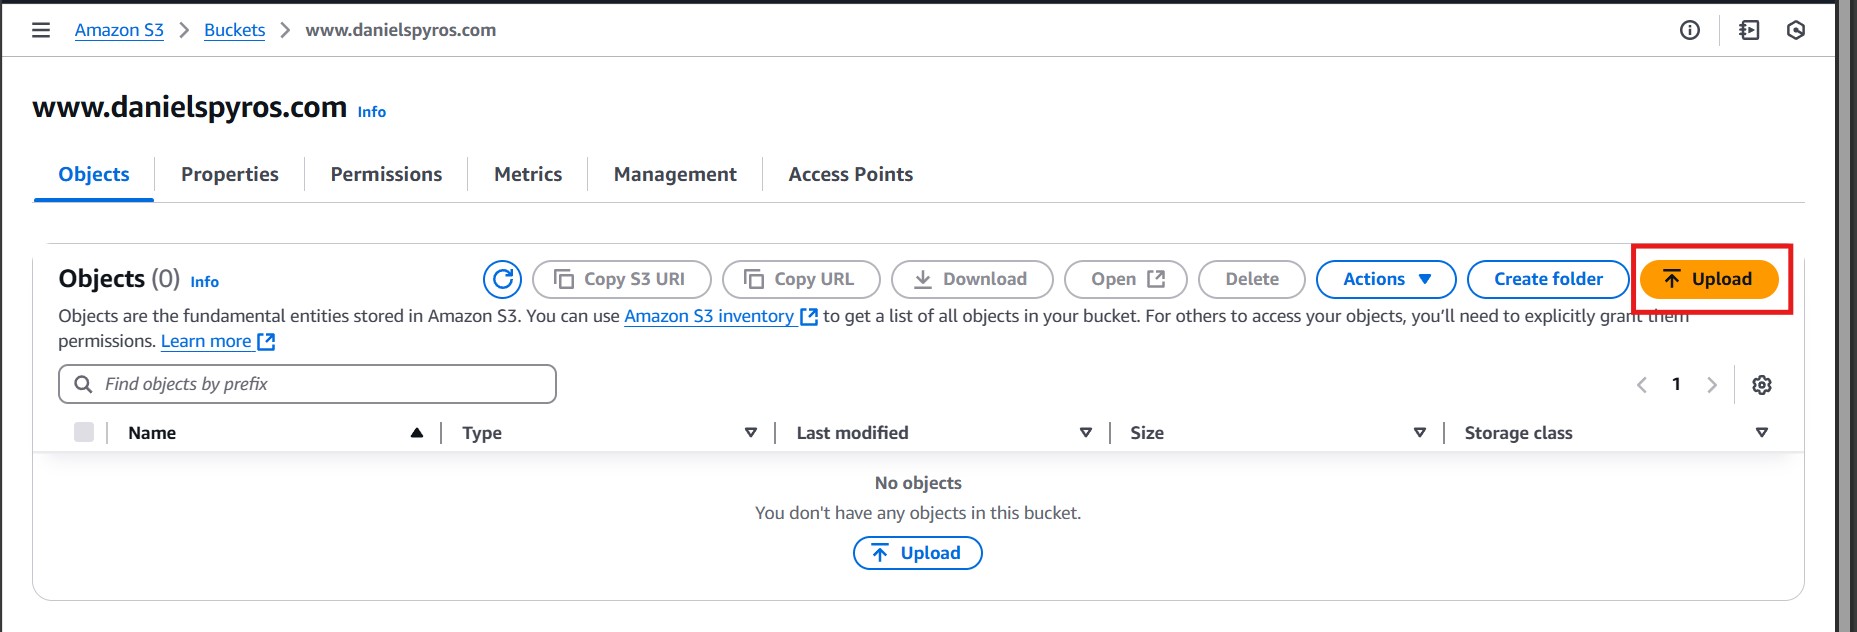
Make sure that index.html ends up in the root directory of the bucket instead of a subfolder. I recommend dragging and dropping the files or using the AWS CLI to do this. Using the “Add Folder” button put my files in a _site subfolder so I had to remove and readd them.
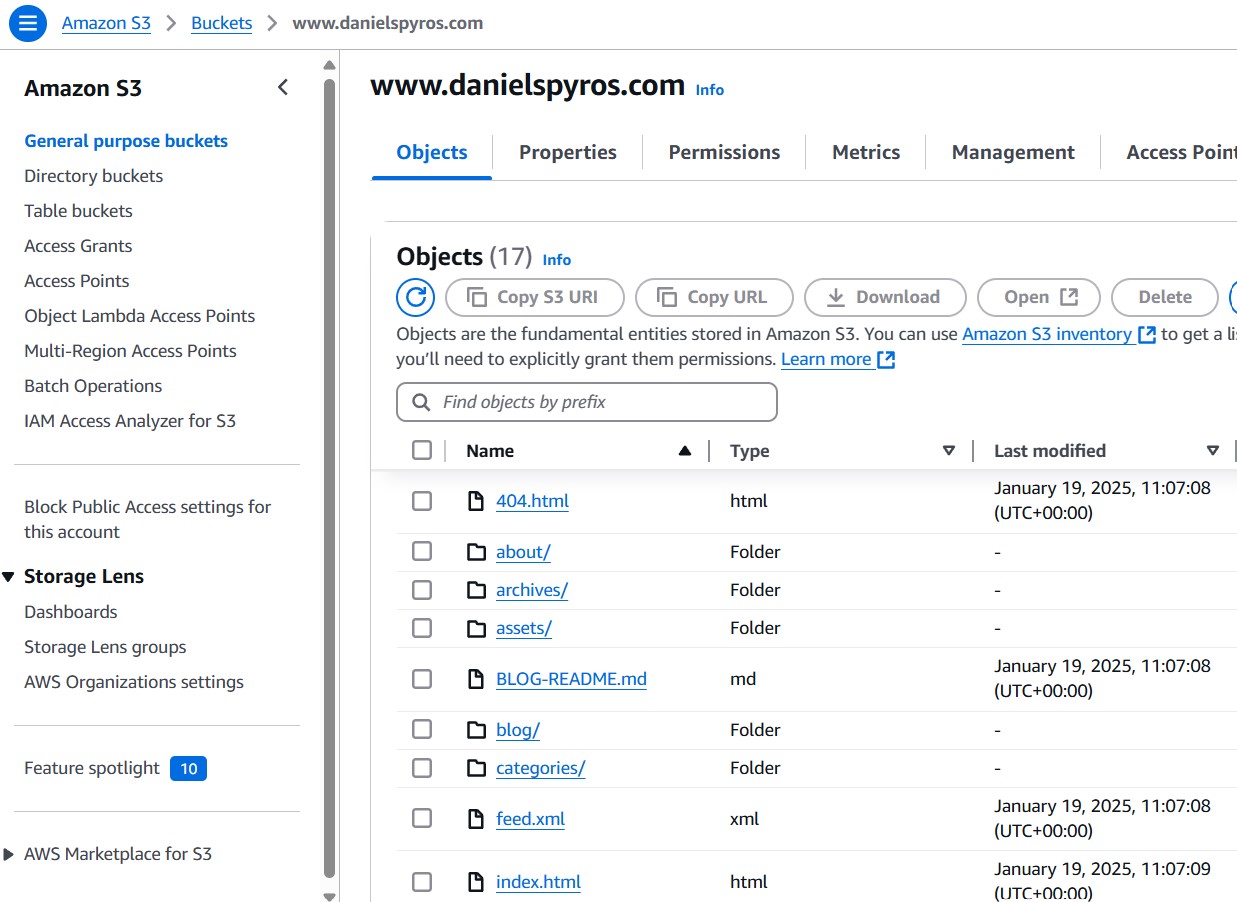
Once uploaded, it should look something like this:
In a later tutorial, I will show you how to automatically upload to the S3 bucket when we push new changes to the Github repository using Github Actions.
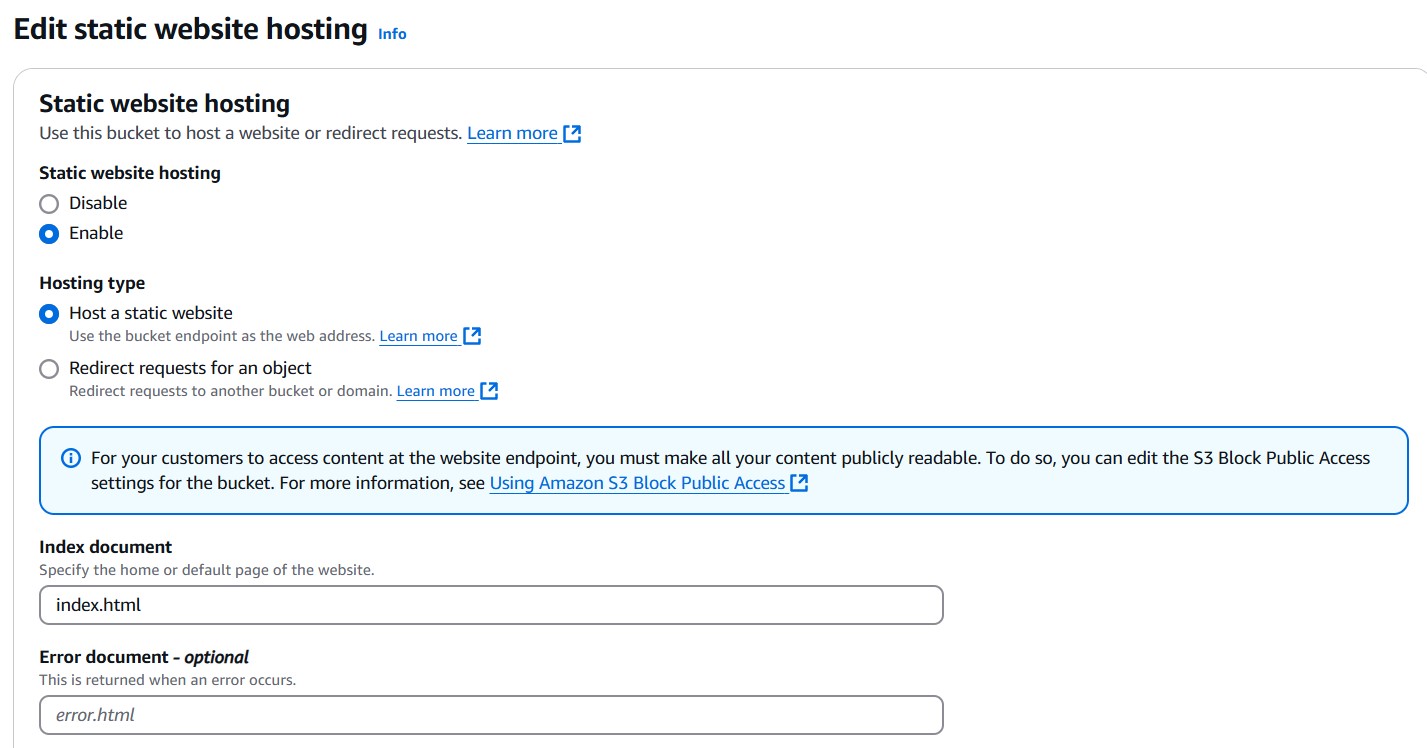
3. Configuring the S3 Bucket for Static Website Hosting.
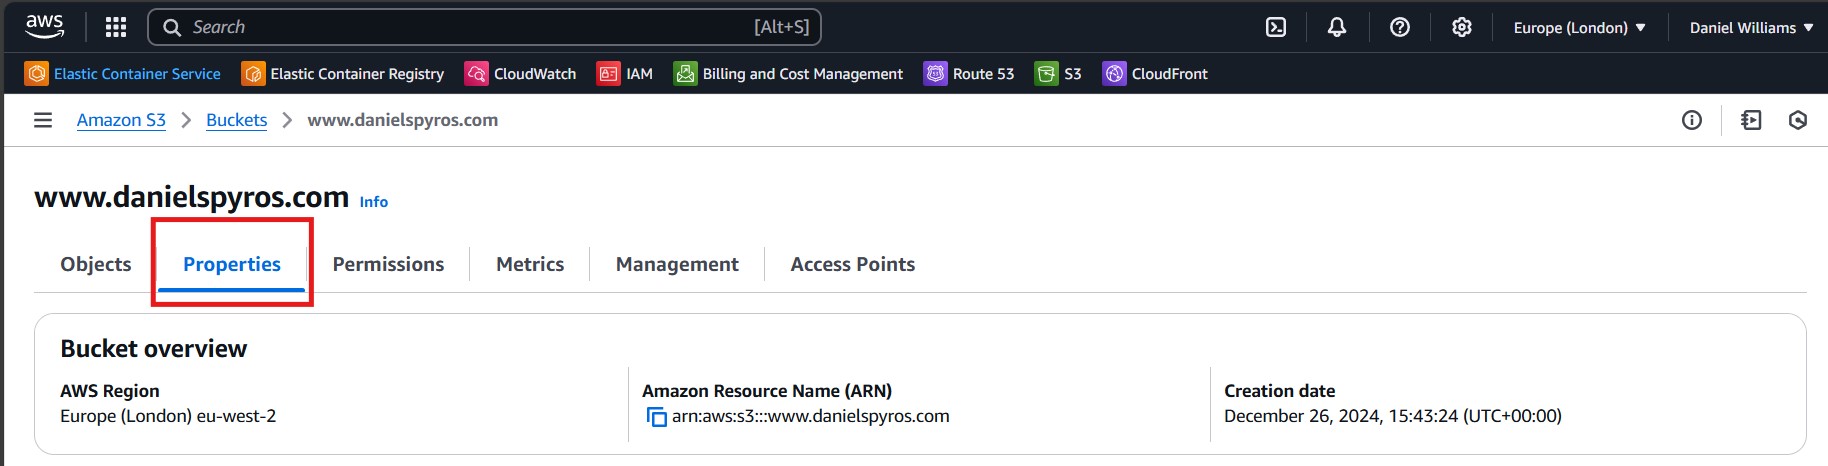
Now go to the properties tab of your S3 bucket.
Scroll to the bottom where it shows “Static website hosting” and click “Edit”.
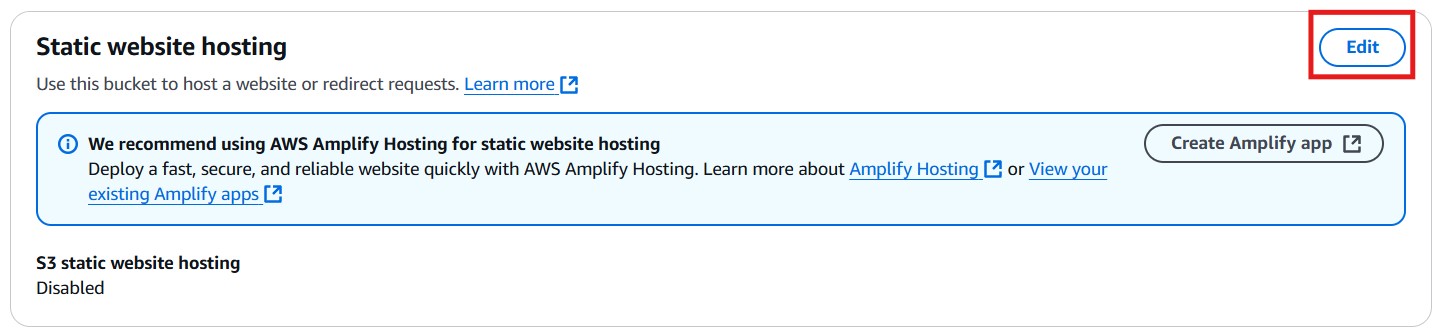
Enable static website hosting. Leave the hosting type as “Host static website”, and set the index and error documents as necessary.
4. Setting the Bucket Permissions.
Now go to the Permissions tab and edit the bucket policy.
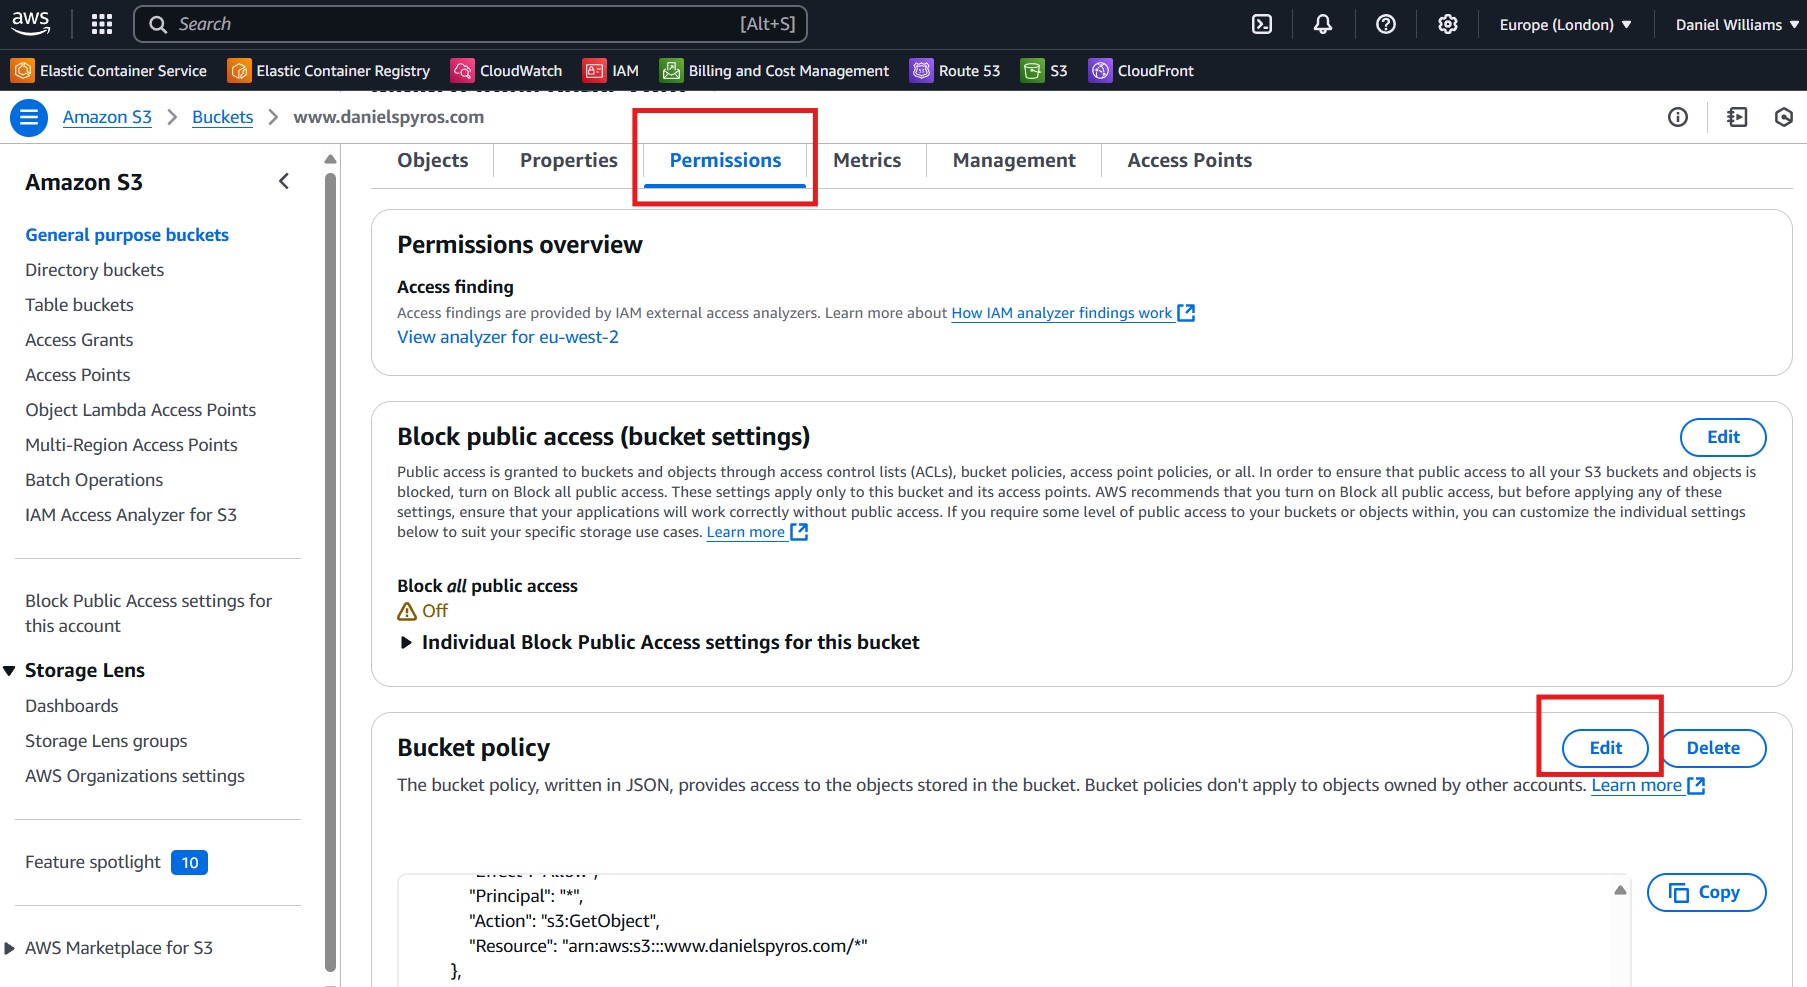
Paste in this JSON policy:
1
2
3
4
5
6
7
8
9
10
11
12
13
{
    "Version": "2008-10-17",
    "Id": "DanielSpyrosBucketPolicy",
    "Statement": [
        {
            "Sid": "AllowPublicReadAccess",
            "Effect": "Allow",
            "Principal": "*",
            "Action": "s3:GetObject",
            "Resource": "arn:aws:s3:::www.danielspyros.com/*"
        }
    ]
}
Update the Resource value to your buckets ARN. Make sure it ends with /* to give permission to all objects in the bucket. Also update the Id of the policy - this can be whatever you want, or you can remove it.
Now save the policy.
5. Viewing the site from the S3 Bucket URL.
Go to the Properties tab again, scroll to the bottom and find the URL where your bucket is being hosted.
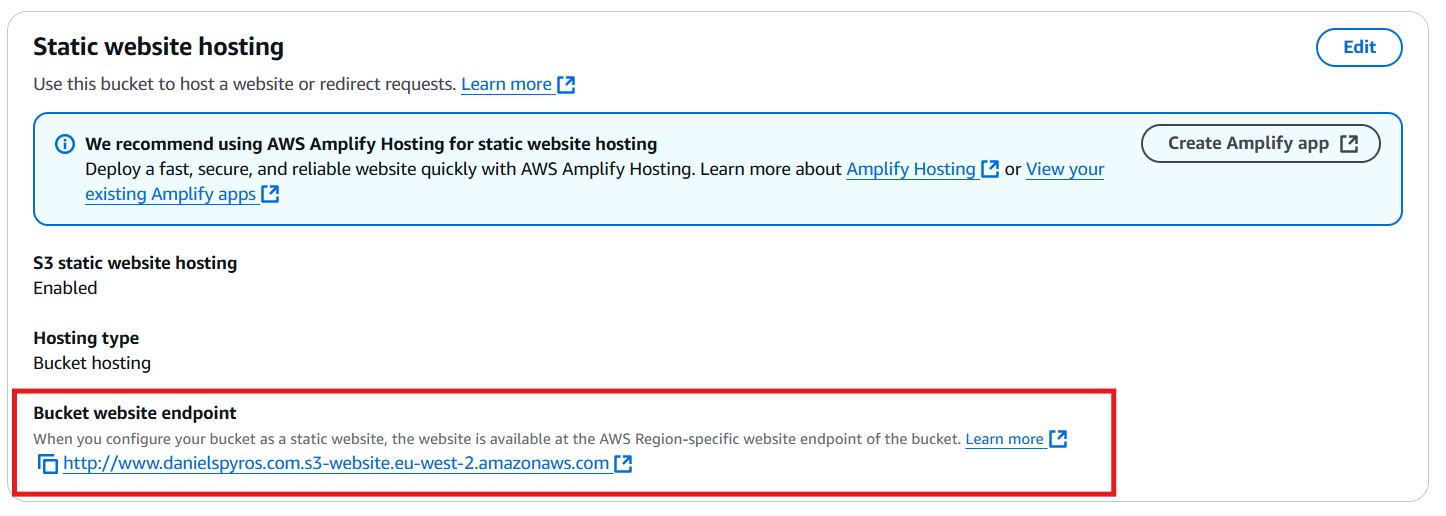
Click the link and view your site.

Great, it is working. All we need to do now is link it to our custom domain.
6. Linking to a custom domain.
Go to the Hosted Zone for your domain on Route53. Create a record.
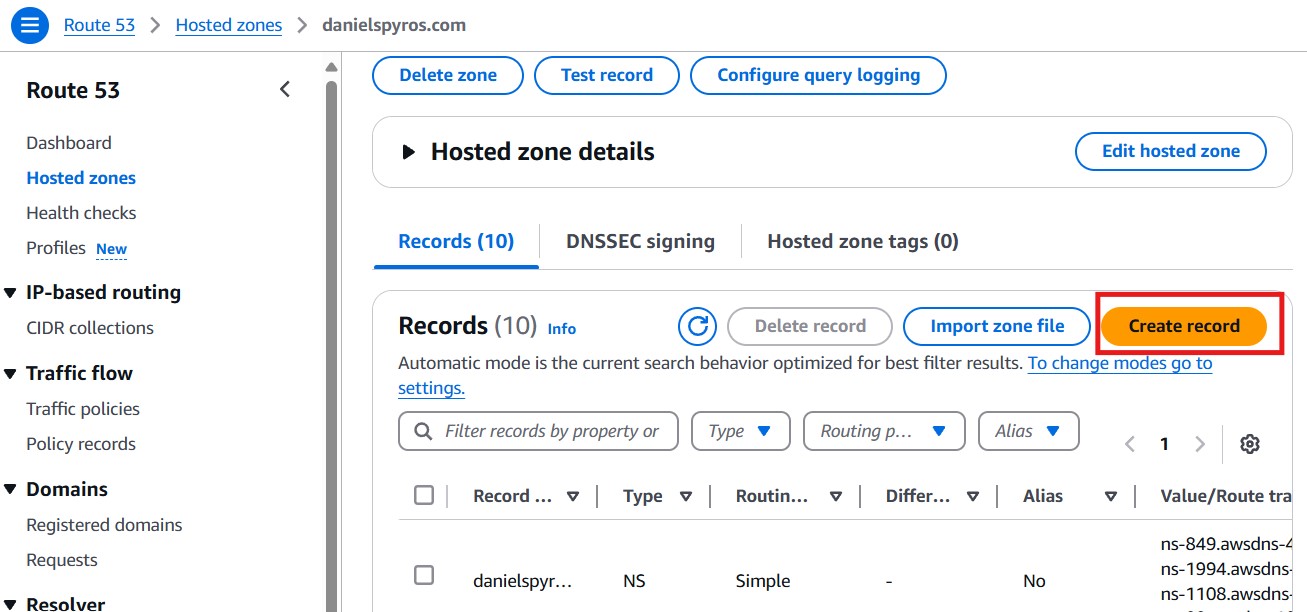
Configure the alias to point to our S3 bucket.

It may take several minutes for this DNS record to propagate across the internet. You can use a site like DNS Checker to see where in the world your domain resolves to an IP address.
You can check whether you can access the site by running ping www.danielspyros.com. If you get this response: Ping request could not find host www.danielspyros.com. Please check the name and try again., go and make yourself a cup of tea. Once you are refreshed, run ipconfig /flushdns and try pinging the site again. You should get something like this:
1
2
3
4
5
6
7
8
9
10
Pinging dev.danielspyros.com [18.165.123.12] with 32 bytes of data:
Reply from 18.165.123.12: bytes=32 time=9ms TTL=246
Reply from 18.165.123.12: bytes=32 time=6ms TTL=246
Reply from 18.165.123.12: bytes=32 time=6ms TTL=246
Reply from 18.165.123.12: bytes=32 time=51ms TTL=246

Ping statistics for 18.165.123.12:
    Packets: Sent = 4, Received = 4, Lost = 0 (0% loss),
Approximate round trip times in milli-seconds:
    Minimum = 6ms, Maximum = 51ms, Average = 18ms
Now that the domain is resolving, let’s visit the site.
7. Viewing the site from your custom domain.
Go to your site. In my case it is at www.danielspyros.com.
Voilà. It’s all working, albeit over HTTP. Although my site is just a blog and HTTP is fine, I don’t like that web browsers add a big warning saying “Not Secure”. It makes the site look less professional and may put off some users from using the site.
In the next tutorial, I will show you how to Serve the site over HTTPS with a CloudFront distribution. After that, I will show you how to automatically update the site with Github Actions CICD.